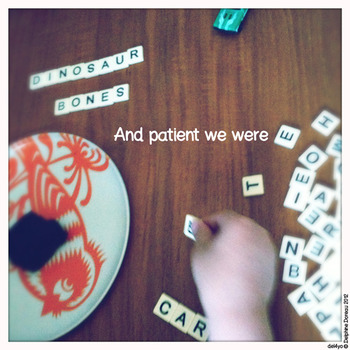
Dinosaur bones
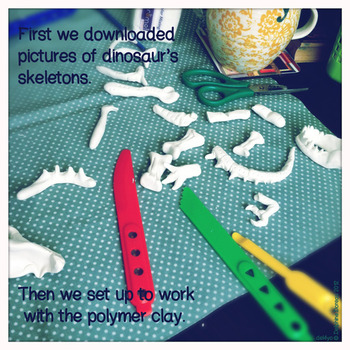
These ideas are all over the internet, but I do recall I got the ice one from the oh so very clever Angélique, and the idea of the clay skeleton was inspired by my friend Gio Nakpil. I used to drop by his desk, and discuss fun and cute thing while kneading some clay...and admiring the wonderful monsters that comes out of his fertile imagination to populate his studio. I do miss those delightful moments!
Anyway:
And it's an exciting day! At least if you are five, like we are.
We made only half a skeleton, so it's possible to put it together flat and it looks like a Trex ( sort of).
I didn't go on the crazy path of actually creating a full 3D one. Don't make it too big. Our bigger piece was the head, 2 inches and a half or so, and it was a bit difficult to excavate later. I made the head and the tail and my son made the simpler bones. We added textures and marks on the bones to make them more real and interesting. So much fun!
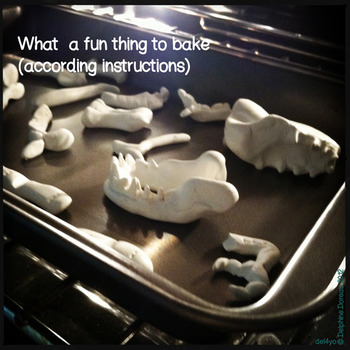
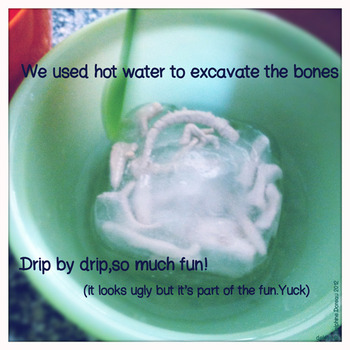
We baked them 45 minutes, and then we had to wait for it to be cold and sturdy enough to touch it, and play. The next step was to add water.
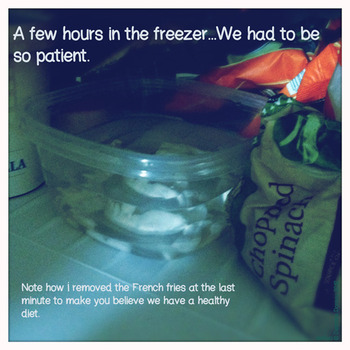
Don't put too much water or take too large of a container, or it will take hours, and the game will be slow and frustrating (thanks Angelique for the tip)
And then:
Polymer clay is basically plastic. Properly cured it can stand water and low temperatures, at least for a while.
We read a good picture book while waiting : How the Dinosaur got to the Museum, by Jessie Harland.
And then we had lunch. And waited again.
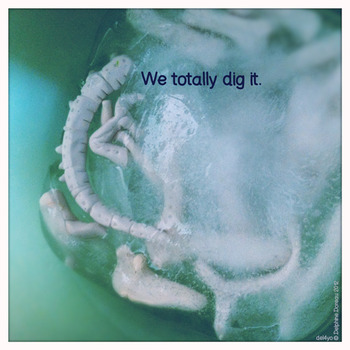
And then, here comes the fun! I unmolded the giant ice cube in a larger bowl and...
We re-used the water for watering the plants and another run in the freezer.
Because it was so exciting, really, we had to do it again.
Have fun! If you don't feel like sculpting and baking, skip that part and use plastic dinosaurs.